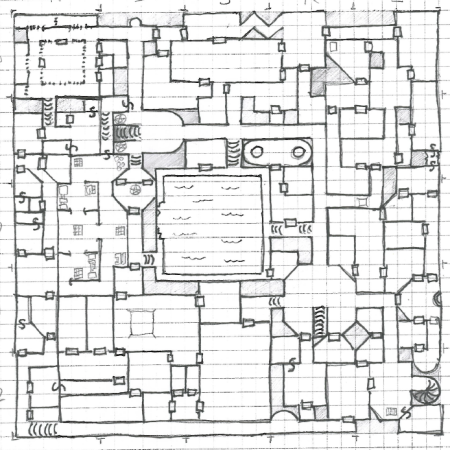
Unkeyed:
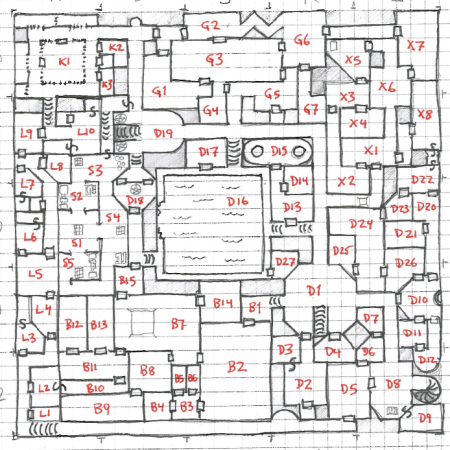
And keyed:
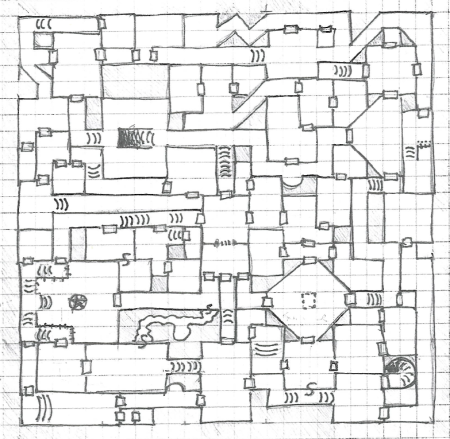
This is the replacement dungeon level I drew after being dissatisfied with my first attempt. you’ll notice that is it bigger, but that the entrance (D1) and the exits (D8 and D19) are in the same relative places. This is because I’ve already planned out where the different connections between levels are relative to each other; one of the big ideas in this dungeon is that each level connects to many other levels (no level connects to fewer than two other levels, and some connect to as many as six).
In this level, the exits to levels two and three are easy to find–this is another characteristic of the dungeon: it will never be hard to find the pathway to go through the levels sequentially. The dungeon was originally meant to be used, after all. On the other hand, many of the out-of-order level connections or connections to sublevels may be hidden.
Quick rundown of the different areas:
The D areas are just generic dungeon. Not much treasure ebcause they’ve basically been picked clean, but also not much in the way of really challenging monsters. Maybe a scavenger or a wandering monster or two. The big exception is D20-D26, which was once the lair of a tribe of kobolds, before they were driven out by the goblins in the G areas. Not much is left in terms of loot, but the whole area is still booby trapped like crazy. D16 is a large cistern/reservoir, with underwater tunnels leading to the S areas. Watch out for the water rats.
The B areas were originally barracks (you can see the fighting pit in B7). There’s a mess hall (B11), a drill floor (B2), offices and quarters for officers (B3-B6), an armory (B8), a smithy (B9), and a kitchen at B10 with a secret passage into the larders. These areas are mostly inhabited at present by a gang of brigands, with their loot.
The L areas are the larders, which are now completely infested with dog-sized bloodthirsty carnivorous chickens. They are mean, and extremely territorial, and that’s just the hens. The rooster is the size of a horse and pure evil. The whole area is basically buried in chicken shit, and the level’s other inhabitants avoid it. That said, the larders were not only stocked with foodstuffs–the whole area is riddled with secret rooms where there are still valuables left for the taking.
The S areas are full of grates to water tunnels below and weird machinery. They are difficult to get to, and used as the lair of a bunch of really big giant water rats. There’s also some decent treasure in there though, so it’s worth trying to find.
The K areas were once kennels. The hounds are all dead, and the area is haunted by a gray ooze, that can slip through the locked and rusty bars.
The G areas have long been used as the lair of a goblin tribe, led by a self-styled king, with a decent haul of treasure. It’s not clear what the rooms were originally used for.
The X areas are mostly abandoned, because an extremely dangerous predator lairs at X4. The only other inhabitants are a mixed group of human and goblin outcasts, hiding out at X8 and planning revenge.


